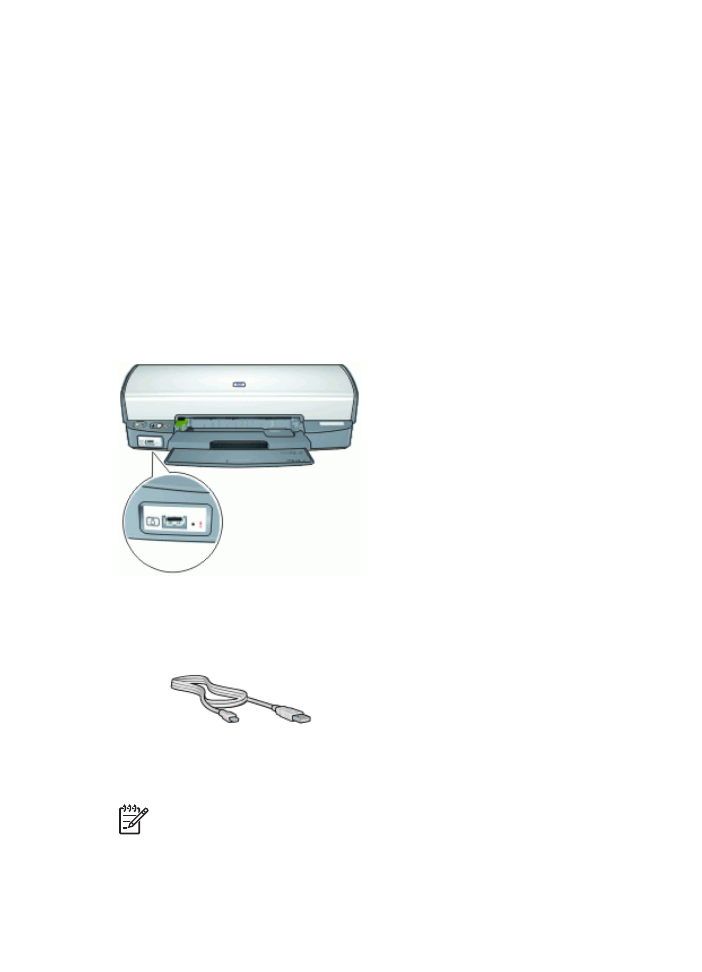
Print photos from the front USB port
Note
To print using these instructions, the HP Photosmart software must be
installed on your computer.
HP Photosmart Software Help
19

To print from the front USB port
1.
Load photo paper into the printer.
For instructions about loading photo paper, click one of the following options:
–
Print borderless photos
–
Print photos with a border
2.
Connect your camera or other device to the front USB port using a USB cable.
The green Connection light should be illuminated. For more information, see
About
the front USB port lights
.
3.
Turn on your camera or device, and then set it to transfer photos.
If you do not know how to set the camera or device to transfer photos, see the
documentation that came with the camera or device.
4.
Start the HP Photosmart software.
If you attached an HP digital camera to the front USB port, the HP Photosmart
software starts automatically.
If you attached a non-HP digital camera or another device, press the Photosmart
Express button on the printer.
5.
Before printing photos you must transfer them to your computer's hard drive. Do one
of the following:
–
If the photos are displayed at the top of the HP Photosmart software dialog box,
click
Save
, and then follow the onscreen instructions.
–
If the photos are not displayed at the top of the HP Photosmart software dialog
box, click
Browse photos
. Follow the onscreen instructions to locate the
photos. Click
Save
, and then follow the onscreen instructions.
After the files are transferred the HP Photosmart software dialog box is displayed.
6.
Click
, and then follow the onscreen instructions.
For more information on using the HP Photosmart software, see the HP Photosmart
Software Help.